Mockup collections
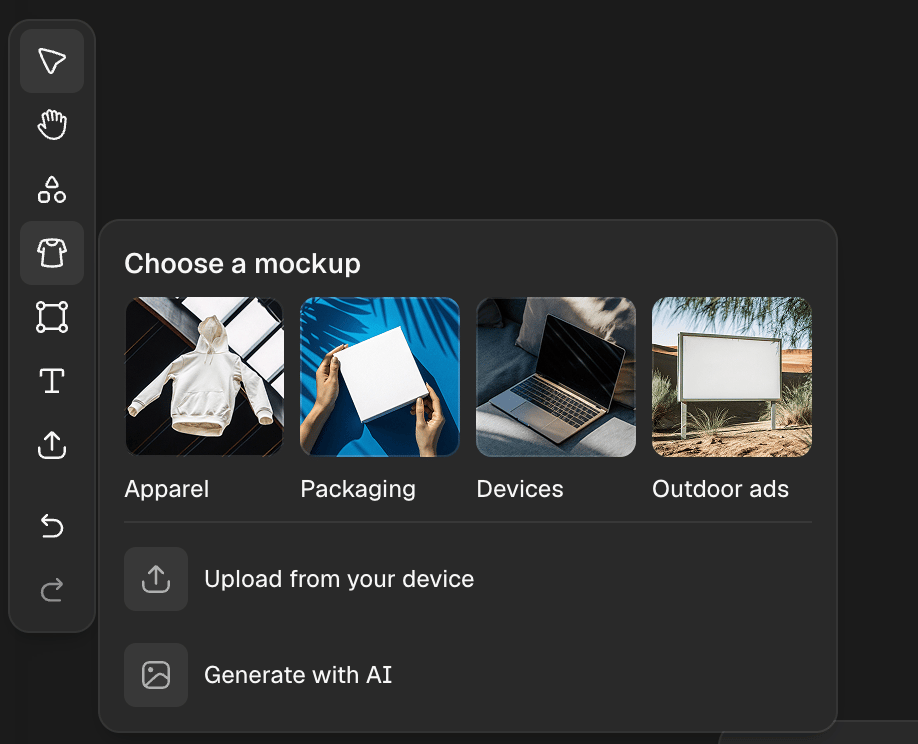
Click the Mockup icon in the toolbar to open the mockup panel. From there you can:- Browse four collections of pre-made mockups: Apparel, Packaging, Devices, and Outdoor ads
- Upload a mockup from your computer
- Generate a mockup from scratch
There are three ways to create a mockup:
1. Use a pre-made mockup from a collection
- Click the Mockup icon in the toolbar to open the panel.
- Browse the collections and select a mockup to add to the canvas.
- Apply your design following the steps in Applying your design to the mockup.
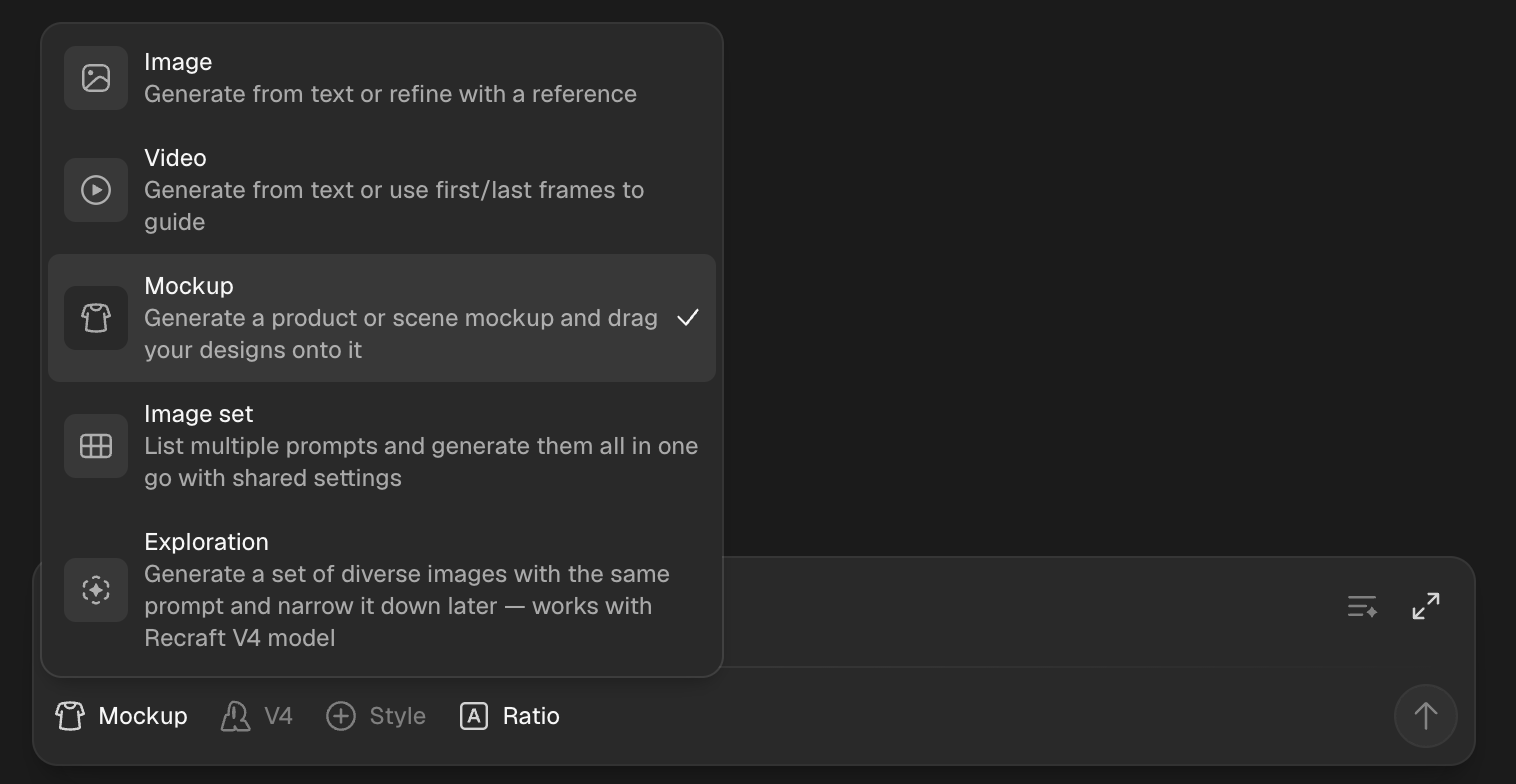
2. Generate a mockup from scratch
Use this option if you want to start from a prompt:- Open the prompt panel and select Mockup as the generation type (where you switch between Image / Video / etc.).
- Write a prompt describing the product you want to visualize (e.g., “white T-shirt facing forward”).
- Press Enter or click the up arrow to generate a mockup-ready image.
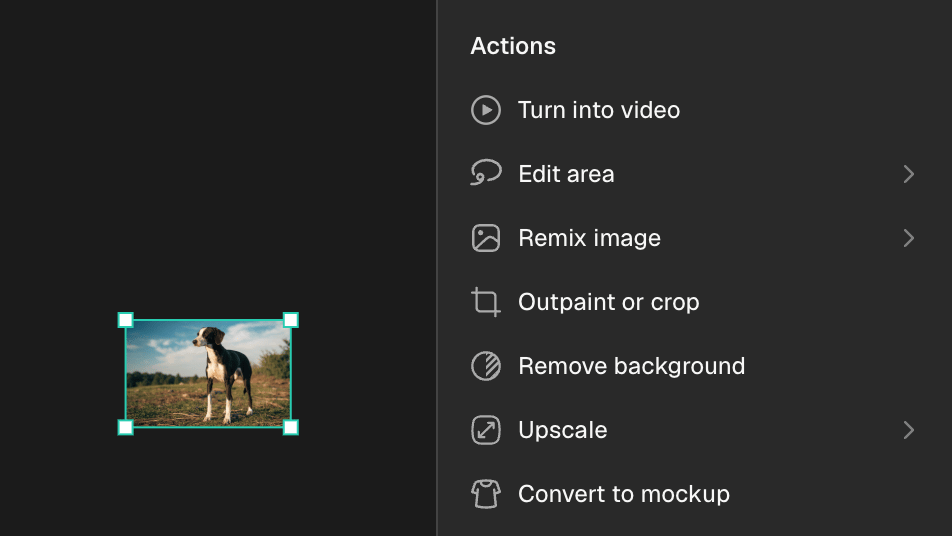
3. Convert an existing image to a mockup
You can also convert any photorealistic image (e.g., a stock photo of a product) into a mockup:- Place the image onto the canvas.
- Select the image and in the right panel, click Convert to mockup.
- The image will be converted into a mockup frame.